Whenever time allows, I like to get some life drawing in. Nothing like it to hone the study of fascinating human forms. 110 Studio in Sheung Wan Hong Kong is run by a good friend of mine, and this video is a compilation of a few sessions I did there recently.
I haven’t been attending life drawing sessions as much as I’d like of late, but do whenever time allows. In addition to attending 'regular’ life drawing sessions where the model is nude, I also occasionally have fun at themed figure drawing sessions, and a new favorite is at 110 Studio Sheung Wan, run by Pei Sea, a very good friend of mine. The video above are some of my favorite sketches from a few sessions at her place.
Advantages of using an iPad for Life Drawing
Using an iPad for life drawing is perfect for me as I like to work fast. It's also a huge plus that I don't have to worry about paint drying and where to put yet another dripping sheet of watercolor/smeary charcoal etc. And of course, it’s quite fun to watch the video playback afterwards, thanks to Procreate! I'm a fan of quick poses, and not needing space for lots of different media or dealing with the threat of spilling liquids, allows me the flexibility to change positions rapidly if I feel like it.
In a future post, I'll go into detail about my digital process for life drawing.
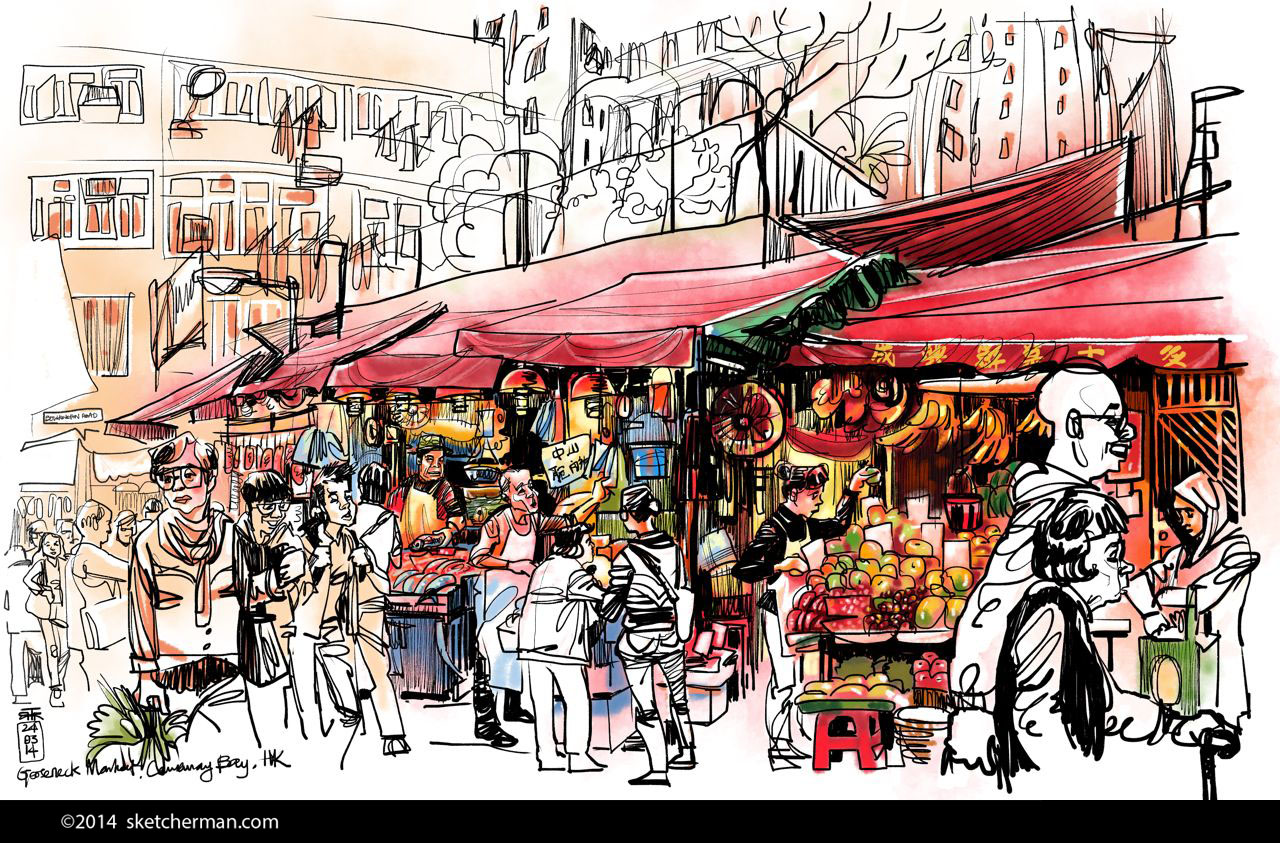
Life Drawing in Hong Kong
The life drawing scene in Hong Kong is cosy (spaces are small) and lively (we have some truly amazing models) and there are 3 studios I’ve been to that I can highly recommend for those interested. I’ll add links at the end of this post. Right now, 110 Studio is the only one I know that focuses on a theme at every session.
Both themed and ‘regular’ life drawing present different challenges. I really love the human form sans attire so I can draw torsos in glorious twists, but also delight in studying light on fabric drawn tight or loosely draped. A theme also gives the model expressions to draw from, adding an additional layer of life to poses. And if the model is good, WOW!
If you’re a newbie, themed figure/life drawing is when the model takes inspiration from a very specific topic. He or she is usually clothed, at least to some degree, depending on the purpose of the session. I’ve attended some where the model is nude but holds poses so animators can study the human form, inspiring characters in film. Often, it’s just for practice, but every bit helps, and the hours put in can add up to make a huge difference in skill level.
Themed Life Drawing at the Drawing Club, LA
I can’t talk about themed life drawing without mentioning where I first got into it: Bob Kato’s Drawing Club (then in Glendale) which I loved attending when I was living in LA. The man took great pains to set the stage, arranging lighting, props and even a movie and accompanying musical soundtrack! Providing an immersive experience made it so much more inspiring, and looking around, I could see many industry pros who obviously felt the same, returning time and again to Bob's in order to hone their craft.
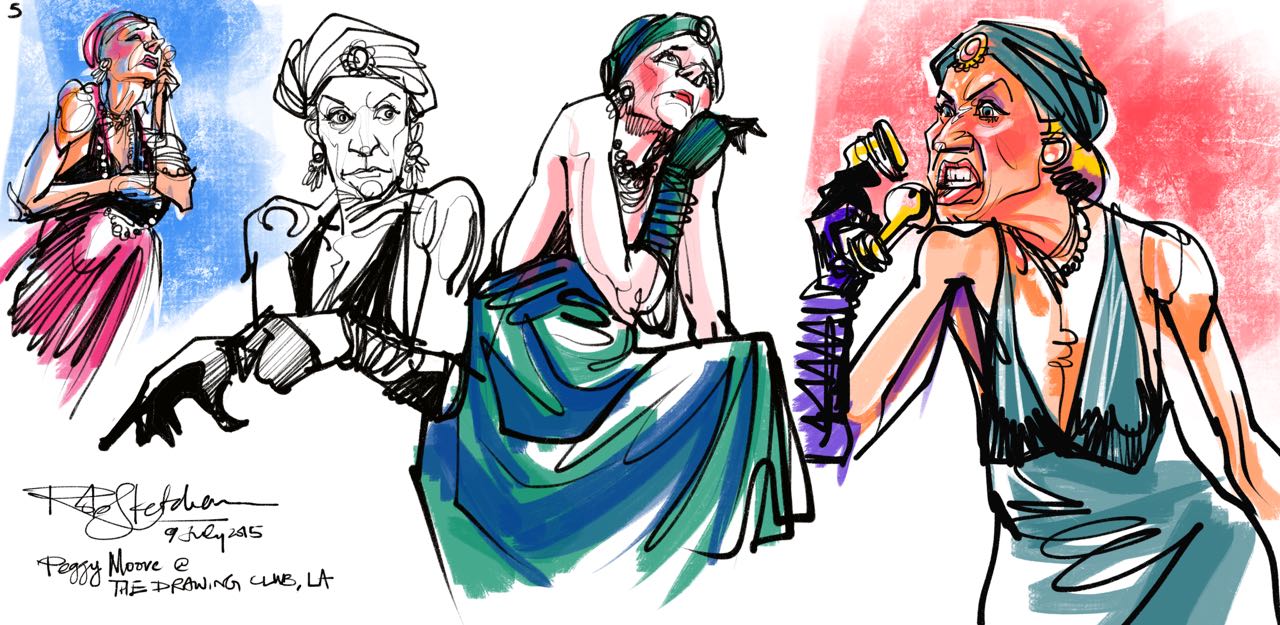
Peggy Moore channelling Norma Desmond at The Drawing Club, Los Angeles, July 2015
I had a chance to catch a session in July at the Drawing Club's new location, Gallery Nucleus in Alhambra, where the theme was Sunset Boulevard. As always, the film inspiring the session was being projected onto a screen. Modeling for us that evening was Peggy Moore, who took great pains with her costume. As you can see from a selection of my sketches, she had Norma Desmond down to a 't', and I had a ball, especially with her expressions.
Here in HK, space is more of a challenge, so we make do and stretch our imaginations a little more. But hey, all you need is a great model embodying the feel of a character, a great playlist, and off you go.
Figure Drawing Sessions in Hong Kong
If you’re in Hong Kong and want to give themed life drawing a go, connect with Pei Sea here. If you’re in LA and haven’t yet been to The Drawing Club, you can find more info at http://www.thedrawingclub.com/
For those in HK, here’s a map so you can also find a life drawing spot close to you. (I’m only recommending places I’ve personally been to.)
110 Studio Shueng Wan (Themed Life Drawing)
You’ll need to hit the 5th floor button at the gate downstairs in order to buzzed in. Take the elevator to the 5th floor and the entrance is on your left.
Run by: Pei Sea.
Email: 110figuredrawing@gmail.com
Cost: HK$200 per 2-hour session
When: Thursday 7:30-9:30pm (check the Facebook pages for latest details)
Where: 5th floor, 110 Jervois Street, Sheung Wan
Format: Short poses, starting with 30secs/slow motion, 1, 5,10,15 and 20 min poses.
Instruction: None, but friendly advice is always available after if you want it.
Equipment provided: Seating and plywood drawing boards. BYO sketching materials
Life Drawing in Hong Kong (nude)
Life Drawing Hong Kong
Philippe runs life drawing sessions in a few places in town. This is the main spot. (Email him to check)
Take the stairs up to the little elevator lobby and read the many notices as you head up the 8th floor. The studio is the door on your left.
Run by: Philippe Charmes. Hailing from France, Philippe is a great guy, an artist who also teaches, and is ever-ready with helpful advice.
Email: lifedrawinghongkong@gmail.com
Cost: HK$150 per 2-hour session (single model. HK$200 if there are 2 models)
When: Tuesday 7:30-9:30pm (check the Facebook page for latest details)
Where: 8/F, Foo Tak Building, 367 Hennessy Road, Wanchai, Hong Kong
Format: Short poses, 2 - 20 min poses.
Instruction: None, but friendly advice is always available after if you want it.
Equipment provided: Seating and plywood drawing boards. BYO sketching materials
Spitting Gecko
Jockey Club Creative Art Centre, 601, 30 Pak Tin Street, Shek Kip Mei, Hong Kong
Run by: John McArthur is another great guy. A teacher in a local school & dedicated artist, he also runs life drawing sessions from his studio in JCCAC.
Email: jmcarthur@spittinggecko.com
Cost: HK$135-$200 (depends on session) BYO materials
When: Thursday 6-8pm, Saturday 2-5pm (check the Facebook pages for latest details)
Format: Short poses, starting with 30secs/slow motion, 1, 2,5,10,15 and 20 min poses.
Instruction: None, but friendly advice is always available after if you want it.
Equipment provided: Chairs, stools, desks, plywood drawing boards, 2-3 easels if you’re early. BYO sketching materials
Facebook: https://www.facebook.com/pages/John-McArthur-Spitting-Gecko-Studio/46462181010